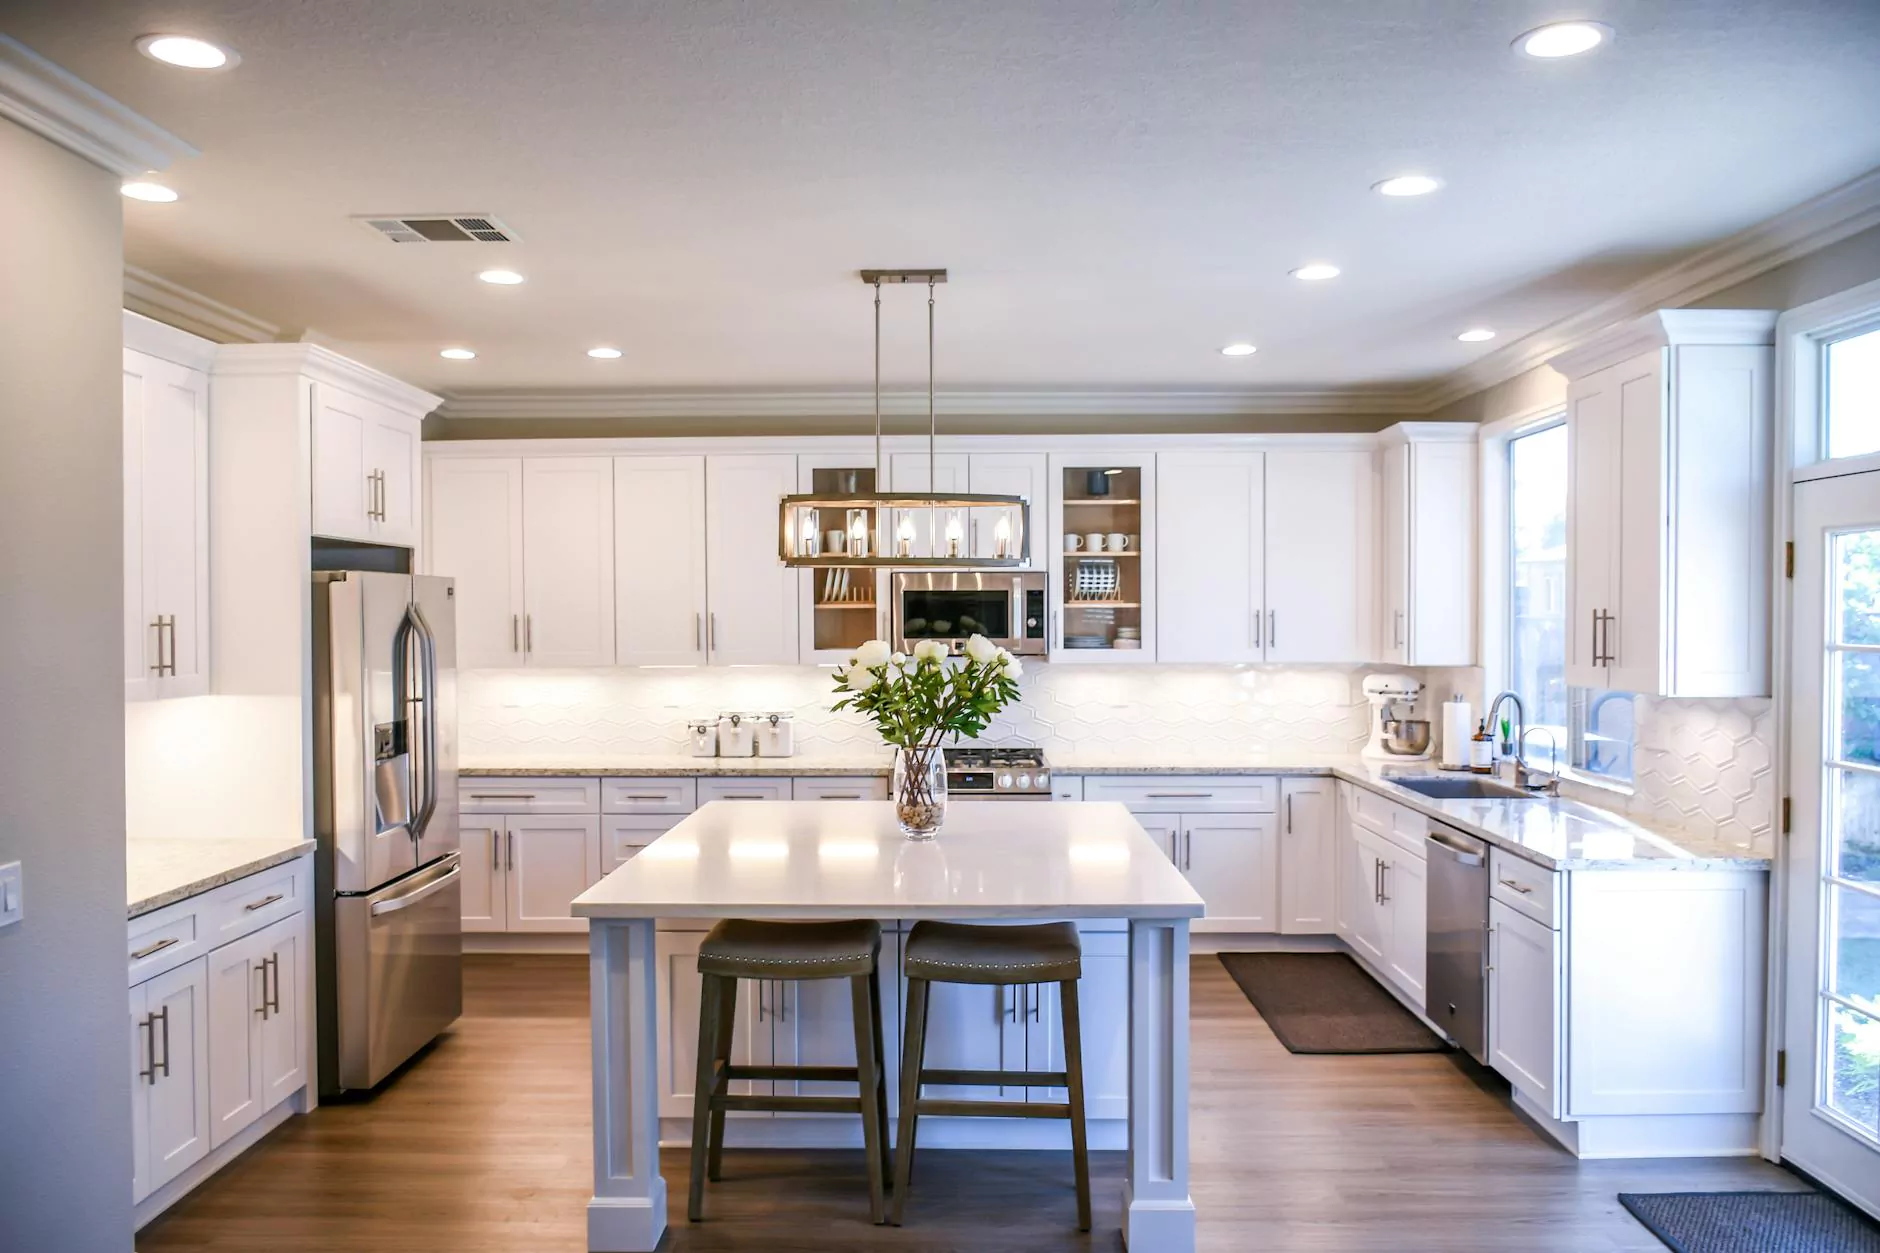
DIY Kitchen - Making New Cabinets from Pallet Wood
Blog
Welcome to Creative Spirit Art School's guide on creating custom kitchen cabinets using pallet wood. This step-by-step tutorial will provide you with all the information you need to transform your kitchen into a functional and visually appealing space. By following these instructions, you'll not only save money but also contribute to a sustainable environment by repurposing pallets.
Why Choose Pallet Wood for Kitchen Cabinets?
Pallet wood is an excellent choice for creating kitchen cabinets due to its durability, versatility, and unique aesthetic. Its natural rustic charm brings warmth and character to any kitchen. Additionally, using pallet wood promotes recycling and reduces the demand for new materials, making it an eco-friendly option.
Materials Needed
Before you begin, gather the following materials:
- Pallets (preferably in good condition)
- Tape measure
- Table saw or circular saw
- Screwdriver
- Drill
- Wood screws
- Sanding block or electric sander
- Wood glue
- Paint or stain (optional)
Step-by-Step Guide
1. Planning and Design
Start by measuring your kitchen space and determining the dimensions and layout of your cabinets. Consider factors such as storage needs, appliance placement, and overall aesthetics. Sketch out a detailed plan to guide you throughout the process.
2. Pallet Preparation
Search for pallets that are in good condition and free from chemical treatments. Disassemble the pallets using a screwdriver and remove any nails or staples. Carefully inspect the wood for signs of damage or rot and discard any boards that are unsuitable for use.
3. Cutting the Wood
Using a table saw or circular saw, cut the pallet wood into the desired dimensions for your cabinets. Ensure accurate measurements and straight cuts for precise fitting. Label each piece to simplify the assembly process.
4. Assembly
Start assembling the cabinet frames by attaching the sides, top, bottom, and back pieces using wood screws and wood glue. Use clamps to hold the pieces together securely while the glue dries. Repeat this step for each cabinet unit.
5. Doors and Drawers
Create custom doors and drawers by cutting additional pallet wood boards to size. Attach the boards to the cabinet frames with hinges and drawer slides. Ensure smooth operation and secure attachment.
6. Sanding and Finishing
Sand all surfaces of the cabinets to achieve a smooth finish. Pay special attention to the edges and corners to remove any splinters or rough spots. Apply paint or stain according to your desired aesthetic. Allow sufficient drying time between coats.
7. Installation
Once the cabinets are fully constructed and finished, it's time for installation. Carefully measure and mark the positions where the cabinets will be placed. Use a level to ensure they are perfectly aligned. Secure the cabinets to the wall studs using screws.
8. Final Touches
Mount the doors, attach the knobs or handles, and adjust any hinges or slides as needed. Stand back and admire your newly created kitchen cabinets made from pallet wood. They are not only functional and sustainable but also showcase your creativity.
With these detailed instructions, you can now transform your kitchen using pallet wood to create beautiful customized cabinets. Enjoy the process of building something unique while adding value to your home. Get creative, and let your DIY skills shine!
Conclusion
In conclusion, creating new cabinets from pallet wood is a cost-effective and sustainable way to enhance your kitchen. By following this comprehensive guide provided by Creative Spirit Art School, you can confidently embark on your DIY kitchen renovation project. Remember to prioritize safety and precision throughout the process, and enjoy the fruits of your labor as you admire your beautiful, one-of-a-kind pallet wood cabinets.


